Written by
Connie Yang
How to Use Time Machine Drive for Both File Storage & Backups
You want to use your Time Machine backup drive to store other data to make the most of its large capacity. Unfortunately, you find that you can't copy files to the Time Machine drive.
Don't be too nervous. This post will guide you to use a Time Machine drive for both other files and backups, or only for other data.
How to use the Time Machine drive for both other files and backups?
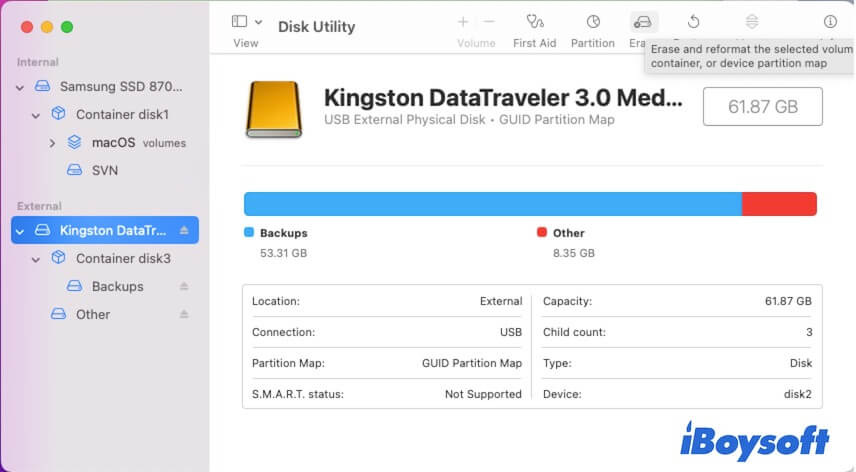
The main reason why you fail to store other data on the Time Machine hard drive is that the drive only has a volume for storing backups. Other data should be stored on another volume or partition on the same disk.
Therefore, to use the Time Machine drive for both file storage and backups, you only need to add a volume or partition to it.
Way 1: Add a volume to the Time Machine drive
If you only want to use the Time Machine hard drive for file storage on your Mac, you just need to add a volume to it. The backup volume on the disk will share the storage space with the new volume, and the new volume can only be formatted as APFS.
Here's how:
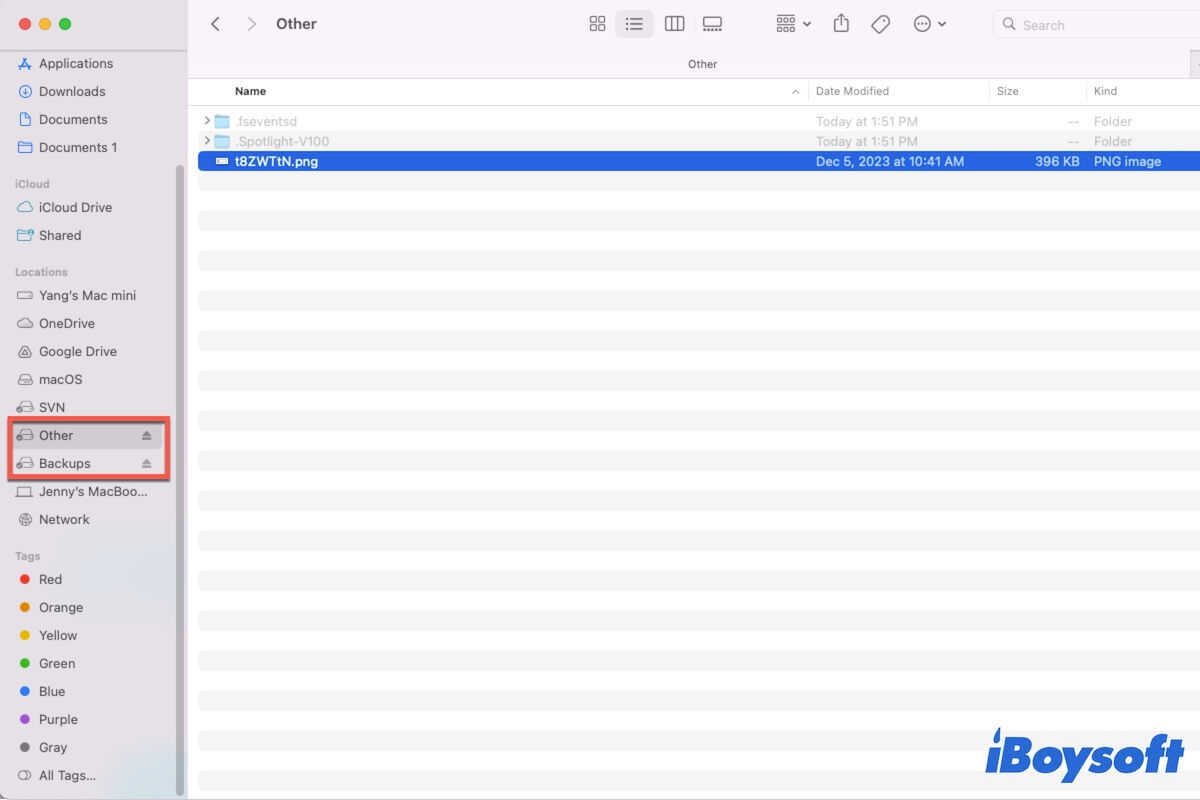
- Open Disk Utility from Launchpad > Other.
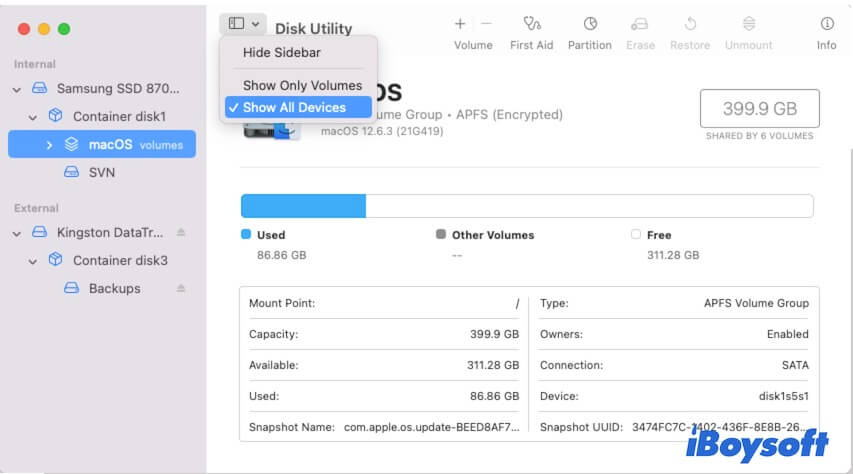
- Click the View button on the toolbar > Show All Devices.
- Select the backup volume from the left sidebar and then click the add volume button (+ Volume) on the toolbar.
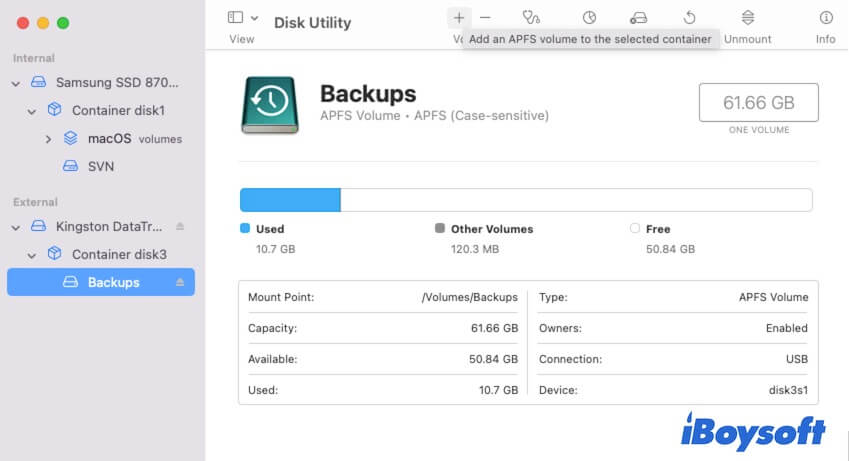
- On the pop-up, enter a name for the new volume, choose a format, and then click Add.
- Wait for the process to complete.
Then, open the new volume from Finder or the desktop and move any files you want into it.
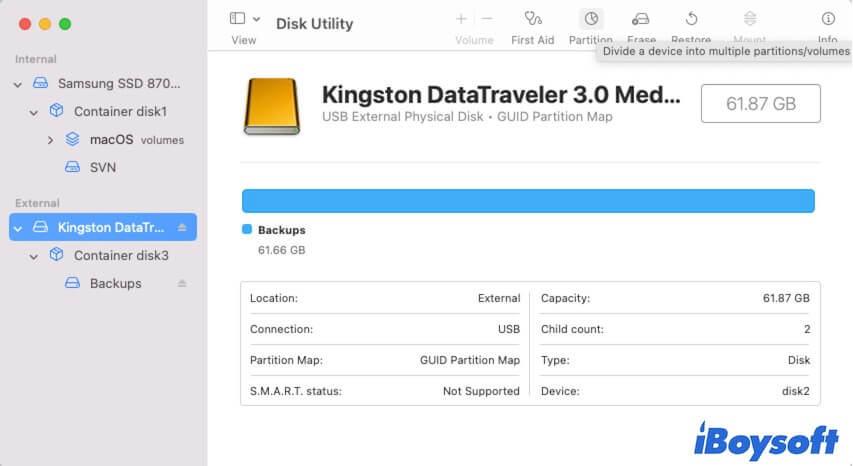
Way 2: Partition the Time Machine drive
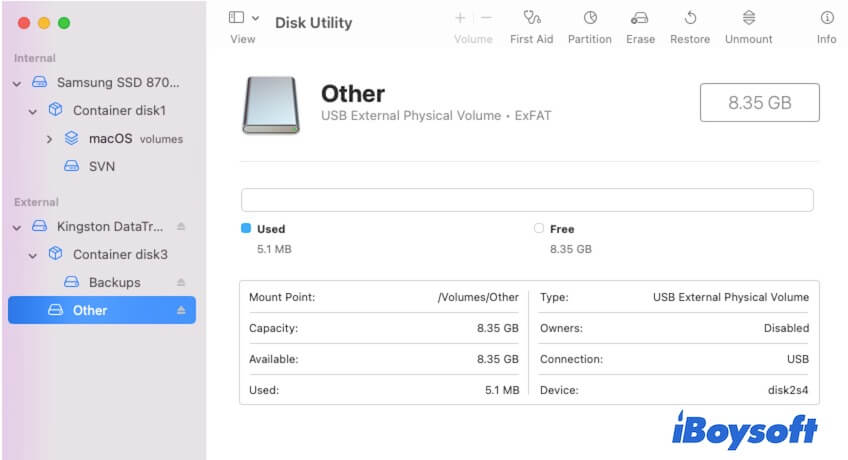
If you want the Time Machine external hard drive to store other files for cross-platform use, you need to partition it. The exFAT file system that is compatible with both Windows and macOS can only be assigned to a separate partition of the backup disk.
- Go to Disk Utility on your Mac.
- Click the View button on the toolbar > Show All Devices.
- Select the entire physical Time Machine external disk and then click Partition.
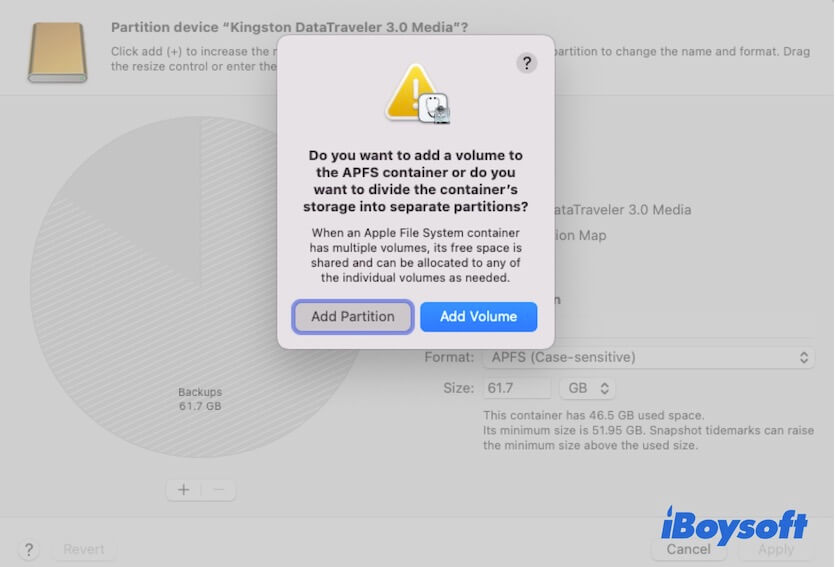
- Click the Add button (+) and then select Add Partition on the pop-up window.
- Edit the partition information, including the name, format (select exFAT), and size.
- Click Apply > Partition to add the partition.
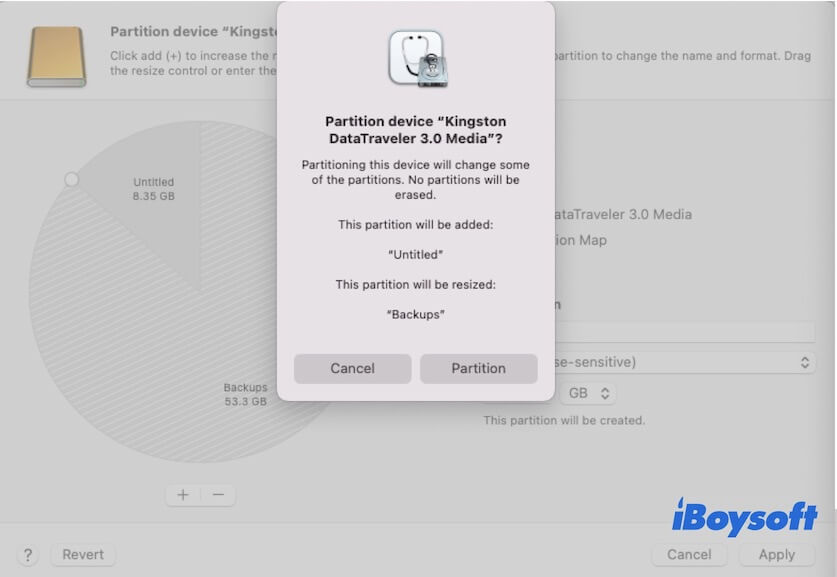
Partitioning a hard drive will take a relatively long time. Don't interrupt the process to ensure partition success.
After that, you can save files to the new partition for cross-platform transferring.
How to use the Time Machine drive for other files only?
If you don't want to use the Time Machine hard disk for backups but only for storing other files, the simplest way is to terminate the Time Machine backup in Time Machine preferences.
- Click the Time Machine icon on the menu bar > Open Time Machine Preferences.
- Click Select Disk, choose the backup disk, and then click Remove Disk.
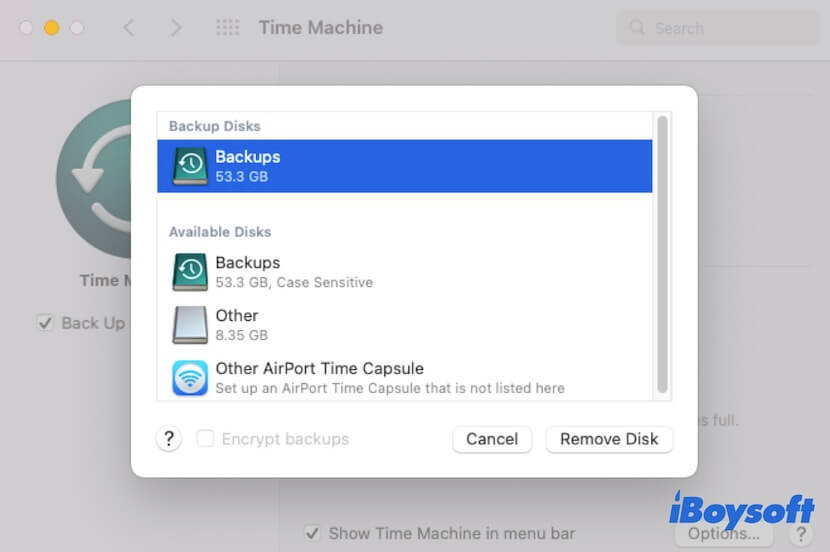
Then, you can save other data on the disk.
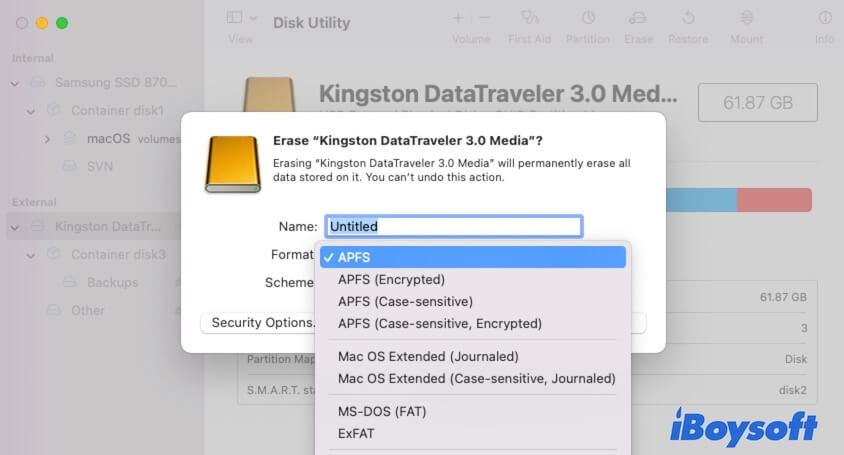
If you are going to use the Time Machine drive for file storage on both Windows and macOS, simply reformat the Time Machine drive to exFAT or FAT.
- Launch Disk Utility.
- Select the entire Time Machine backup disk and then click Erase.
- Name the disk, choose a format (exFAT or FAT), select the scheme as GUID Partition Map, and then click Erase.