
Written by
Sherry Song
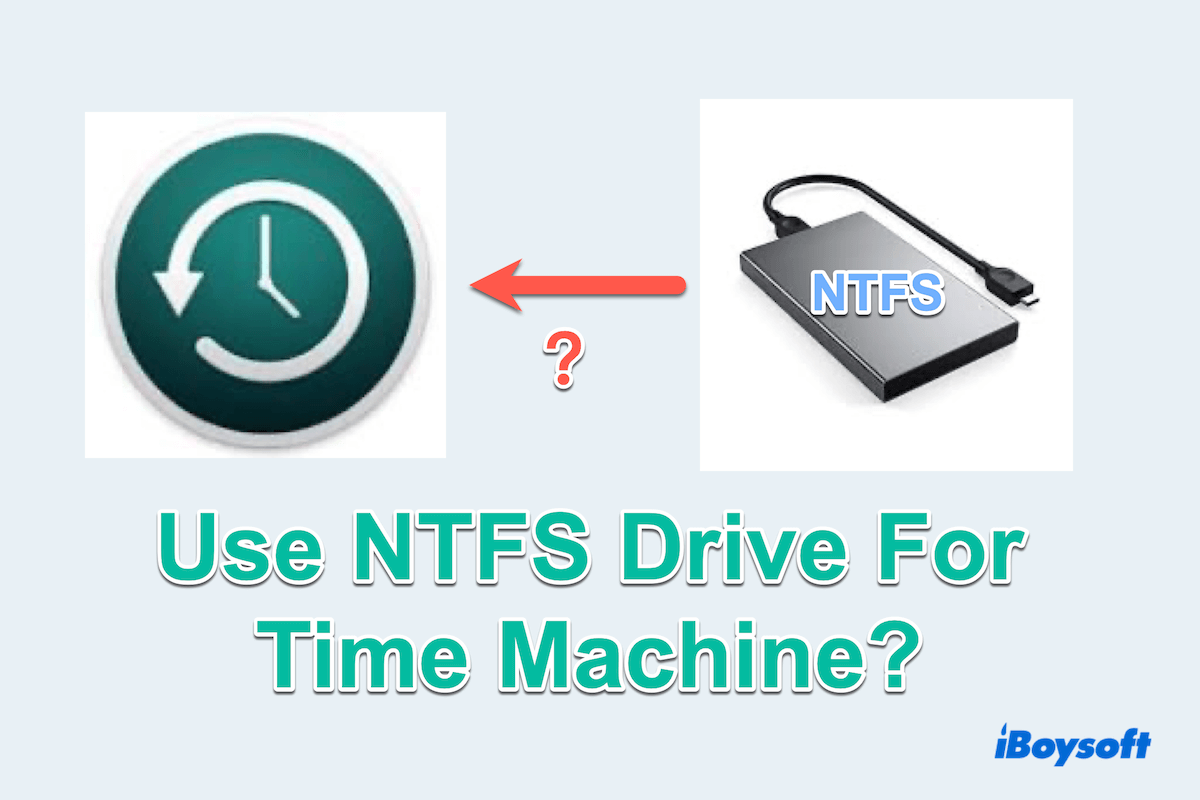
How to Enable Time Machine for a USB HDD with NTFS Drive?
Can I make Time Machine backup to the NTFS external drive? Time Machine is a powerful backup utility for Mac users and today we will learn how to enable NTFS drive for Time Machine backup.
As we all know, Time Machine can automatically back up your data on Mac if you own a USB drive or other external drives. And by default, Time Machine requires a drive formatted with either HFS+(Mac OS Extended) or APFS(Apple File System).
Therefore, if you have an NTFS-formatted drive and want to use it for Time Machine, how to use an NTFS drive for Time Machine? In this guide, we will walk you through the process step by step.
Why can't make Time Machine to NTFS drive?
Unfortunately, you cannot use Time Machine directly with an NTFS external drive on macOS, because NTFS is a file system primarily used by Windows. Your Mac can only read the NTFS drive but can't write any files or use it completely.
So even if you mount the NTFS drive on Mac, you can't see the Set Up Disk option in Time Machine.
In later usage, if you will continue to use the NTFS drive, you can use NTFS drivers for Mac like iBoysoft NTFS for Mac, which allows read and write access to NTFS drives on Mac.
Now let's move to how to use NTFS drive for Time Machine.
How to make Time Machine backup to NTFS drive?
There are two indirect ways to make Time Machine backup to NTFS external drive, you can format it to other file systems or you set a Network Attached Storage on Mac, please follow the:
Reformat NTFS drive
APFS or HFS+(Mac OS Extended) file systems are the recommended formats for a Time Machine backup drive. exFAT or FAT32 can also be supported in Time Machine, but Time Machine may ask you to format them to APFS/HFS+.
Keep in mind that formatting will erase all the data on the drive, so make sure to back up any important files before proceeding.
- Launchpad > Others > Disk Utility. (Or Finder > Applications > Utilities > Disk Utility.)
- Connect the NTFS drive to your Mac.
- Click the NTFS drive.
- Choose Erase on the top menu.
- Rename the drive and choose your wanted format(APFS will be better) then choose GUID Partition Mac as the Scheme.
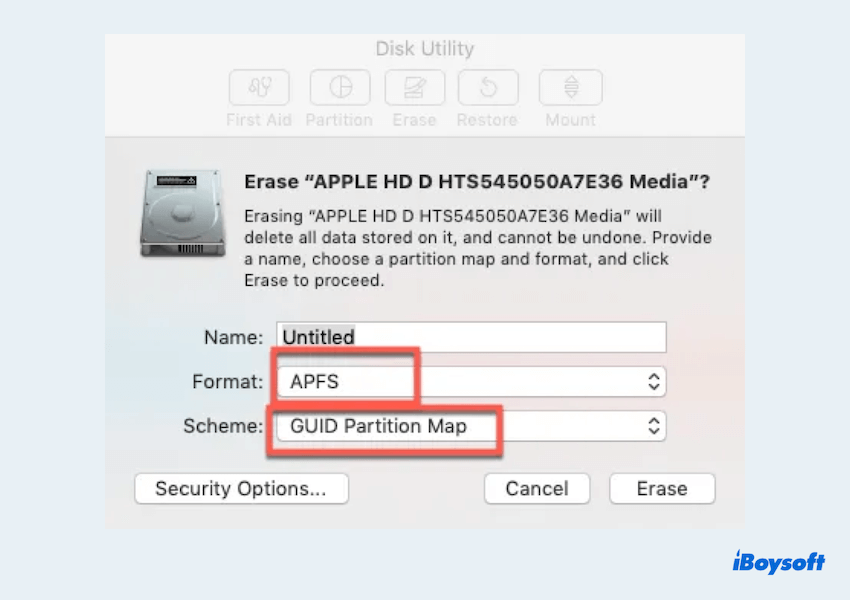
- Click Erase.
After the reformatting finishes, you will have an APFS-formatted drive. Then you can set the drive for Time Machine backup.
Apply for NAS
Using Network Attached Storage(NAS) with your NTFS drive to set up a Time Machine backup is another way but a little difficult. Here is a guide on how to enable Time Machine for a USB HDD with NTFS on NAS:
- Choose a NAS with Time Machine support. (Not every NAS support, you must check it.)
- Connect the NTFS drive to the NAS.
- Access the settings or administration interface of your NAS device by entering its IP address through a web browser.
- Look for your NTFS drive options and follow the setup process.
- Finder > Connect to Server > Type your wanted IP address > Connect.
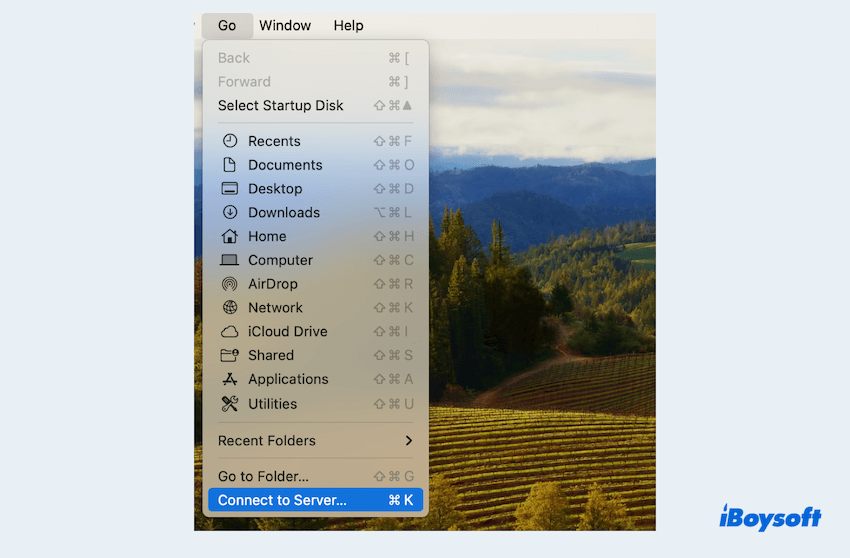
- Finder > Applications > Time Machine > Set up Time Machine > Add Backup Disk > Set Up Disk > Choose your NAS device as the backup.
By following these ways, you can effectively utilize an NTFS-formatted drive with reformatting/a NAS for Time Machine backups, ensuring the safety and accessibility of your important data on Mac.