
Written by
Amanda Wong
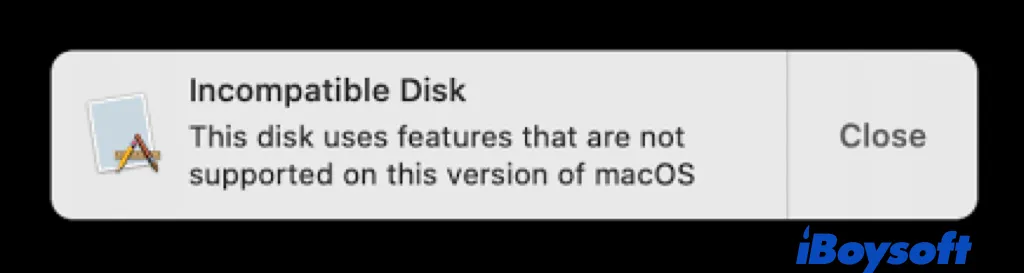
This disk uses features that are not supported on this version of macOS
If you want to run an older version on your Mac, either downgrading macOS or booting up from an internal volume/external volume with an older macOS installer works. But unexpectedly, some Mac users receive the error message "Incompatible Disk: This disk uses features that are not supported on this version of macOS"
With the sudden death of my 2009 Mac Mini running Mojave, I bought a refurbished 2014 Mac Mini which came with Big Sur not realising that my printer would be useless as would any non-wireless printer. So I downgraded to Mojave which appears to have been succesfull apart from an error message on opening:
Incompatible Drive: This disk uses features that are not supported on this version of macOS
There is also a new drive called Update. Can anyone tell me what's going on and what fix there is if any?
Such an error mostly happens to macOS Big Sur, you may see it when you restart the Mac after downgrading from Big Sur to Catalina/Mojave or boot the Mac running Big Sur from an external bootable Catalina/Mojave installer, it is annoying to receive the error, and here is the fix.
The possible reason for the incompatible disk error is that you haven't wiped the physical disk correctly and completely when you downgrade the macOS via the Time Machine backup, or the macOS bootable installer. You should remove the container and at least one volume that the new format creates. There will be at least two APFS volumes that Mojave does not use if you do not clean the entire physical drive before installing Mojave.
Fix: reformat the entire physical drive to reinstall macOS again
You should back up your Mac data first before you proceed to reinstall/downgrade macOS on Mac. Once you have created a backup for Mac hard drive, you can follow the steps below to reformat the drive correctly:
Step 1. Boot Mac into recovery mode
If you want to downgrade to a macOS version before you upgrade and have backed up via Time Machine, just boot into standard recovery mode by restarting the Intel Mac and simultaneously holding Command+R, or restarting the Apple silicon Mac and keep pressing the Touch ID/power button until the Loading startup options.
If you want to go back to the original macOS that is shipped with your Intel Mac, you can boot the Mac into Internet recovery mode by holding Shift+Option+Command+R while restarting the Mac.
If you want to downgrade to other macOS versions, you need to create a macOS bootable installer in advance, then continue to boot your Mac into standard recovery mode.
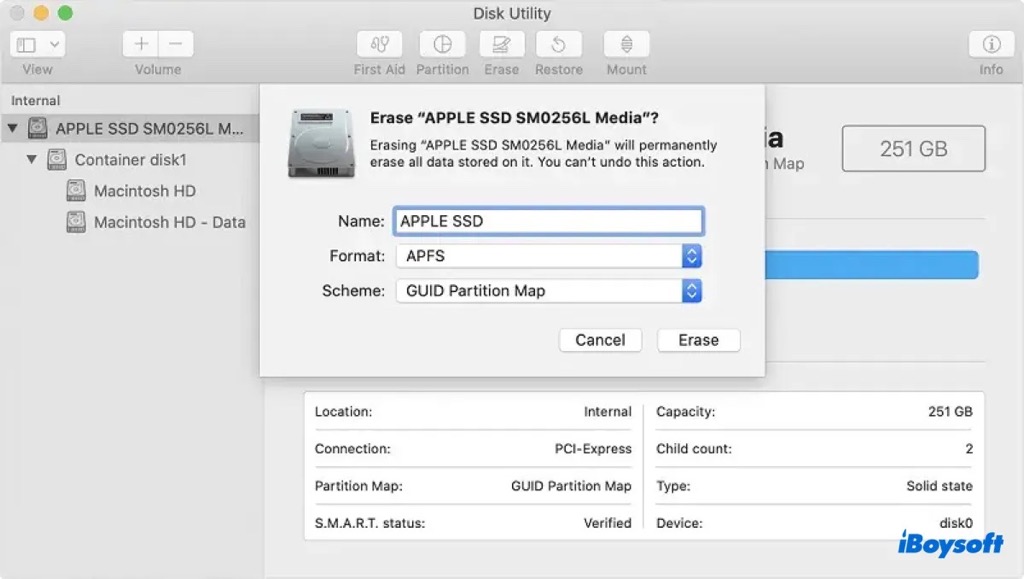
Step 2. Reformat the APFS container
- Choose Disk Utility in the macOS Utilities window and click Continue.
- Click the View button and choose Show All Devices.
- Select the top-level physical disk such as Apple SSD and click the Erase button.
- Name the internal drive, you can choose Macintosh HD.
- Select APFS as the format, and GUID Partition Map as the scheme.
- Click the Erase button to start formatting.
Step 3. Reinstall the desired macOS on the erased drive
Now, you can quit the Disk Utility and go back to the macOS Utilities screen, click Restore from Time Machine, Reinstall macOS, or restart the Mac to boot from the created macOS installer depending on the macOS version you want to downgrade to.
After reinstalling macOS and restarting the Mac, it should remove the error message "Incompatible Drive: This disk uses features that are not supported on this version of macOS," click the share button below to help others fix this issue.